HOW IT'S HANDMADE:
THE ELEMENT STUDS
Hey there, my name is Sarah!
And I'm the designer and maker of all the treasures you see on this site!
Whether you're a frequent supporter of mine, or this is the first time you've stumbled upon my work, I'd like to offer you a glimpse into my studio and how I make my designs.
I think sometimes it's fun to peek behind the curtain!
And knowing that something is handmade is great, but seeing that something is handmade is pretty friggin' amazing! Especially in a global economy full of mass produced goods, ya know?
Without further ado, here is a behind-the-scenes look at how I make the Element Studs.

GATHERING THE MATERIALS
The first few steps may seem like pretty obvious ones, but hey, you can't peek behind the curtain and not see everything, right?
So to start, I grab my 18 gauge Sterling Silver wire and cut two pieces to the length I need. Then, I grab my Sterling Silver sheet metal and my jeweler's saw and saw out the pieces I need for both earrings. Not pictured is me annealing (softening metal through heat) and then patterning this sheet metal on my rolling mill (which is such a cool process and I promise I'll show you on another blog!) I've also already soldered the earring post onto a hollow brass cylinder to create the stud.
SOLDERING THE JOINT CLOSED
Now we're about to start cooking with gas--literally! Haha. To get here, I've put the 18 gauge wire through the hollow brass stud, marked the wire, and then formed it into this rectangle using my pliers. I want to make sure that the joints I'm about to solder are perfectly flush, because this creates a strong connection. To do this, I use a sandpaper wheel on my flex shaft (a handheld rotary tool) to flatten the edge. Now I'm ready to solder this baby closed with my torch! I dab some flux (a chemical that helps solder flow) onto the joint, grab a tiny pallion of solder with my soldering pick, heat up the piece, and add the solder when the heat is just right. And voila! Now she's whole!


SOLDERING ON THE PATTERNED SHEET METAL
At this point, I'm about ready to solder on the patterned sheet metal backing to this earring. First, I want to make sure that the rectangle wire is flat so that it will sit flush against the sheet metal--for that strong connection I mentioned before! Once I flatten it out with my rawhide mallet, which allows me to hammer without marring the metal, I'm ready to solder! I place the sheet metal underneath the rectangle wire, add the flux to the inside edges where it's touching the sheet metal, and solder away! Since solder will run to wherever it's hottest, it can sometimes be tricky making sure that the heat is focused in just the right place with a smaller piece like this. So, I have to be careful not to have any solder accidentally run onto the visible part of the patterned sheet metal.
OOO, GIRL YOU A MESS...
After soldering, I placed the whole piece in a pickling solution, which removes oxidation and flux from the soldering process. Now, I'm ready to polish this beauty up! The sheet metal is sticking out from the sides of the rectangle a bit and I need to clean that up with my sandpaper wheel so that it's flush. I also want to smooth out the rectangle's joint that I first soldered using a silicone wheel on my flex shaft.


LET'S GET READY TO TUMBLLLLLLE!
See how much better that looks?! Polishing up a piece is SUPER exciting because the design really starts to come to life. At this point, there are just a few more steps needed to make it a finished piece of jewelry. Next, I'm going to throw them in the tumbler, which is a piece of equipment that continuously rotates jewelry in a barrel full of liquid and tiny pieces of steel. It's a great tool for shining up your pieces and smoothing out rough edges. It can also help do a little bit of work hardening for your pieces.
POST TUMBLE
Now that she's all shined, smoothed and purdy, I can proceed with my last couple of steps. The first is to oxidize the patterned sheet metal with Liver of Sulfur. It legiiiit smells like rotten eggs...haha and I've stunk up many a room with this stuff, but it can add such depth to a piece--especially if you want a pattern to pop! Once I do that, I'm going to buff the whole piece to give it a matte finish.

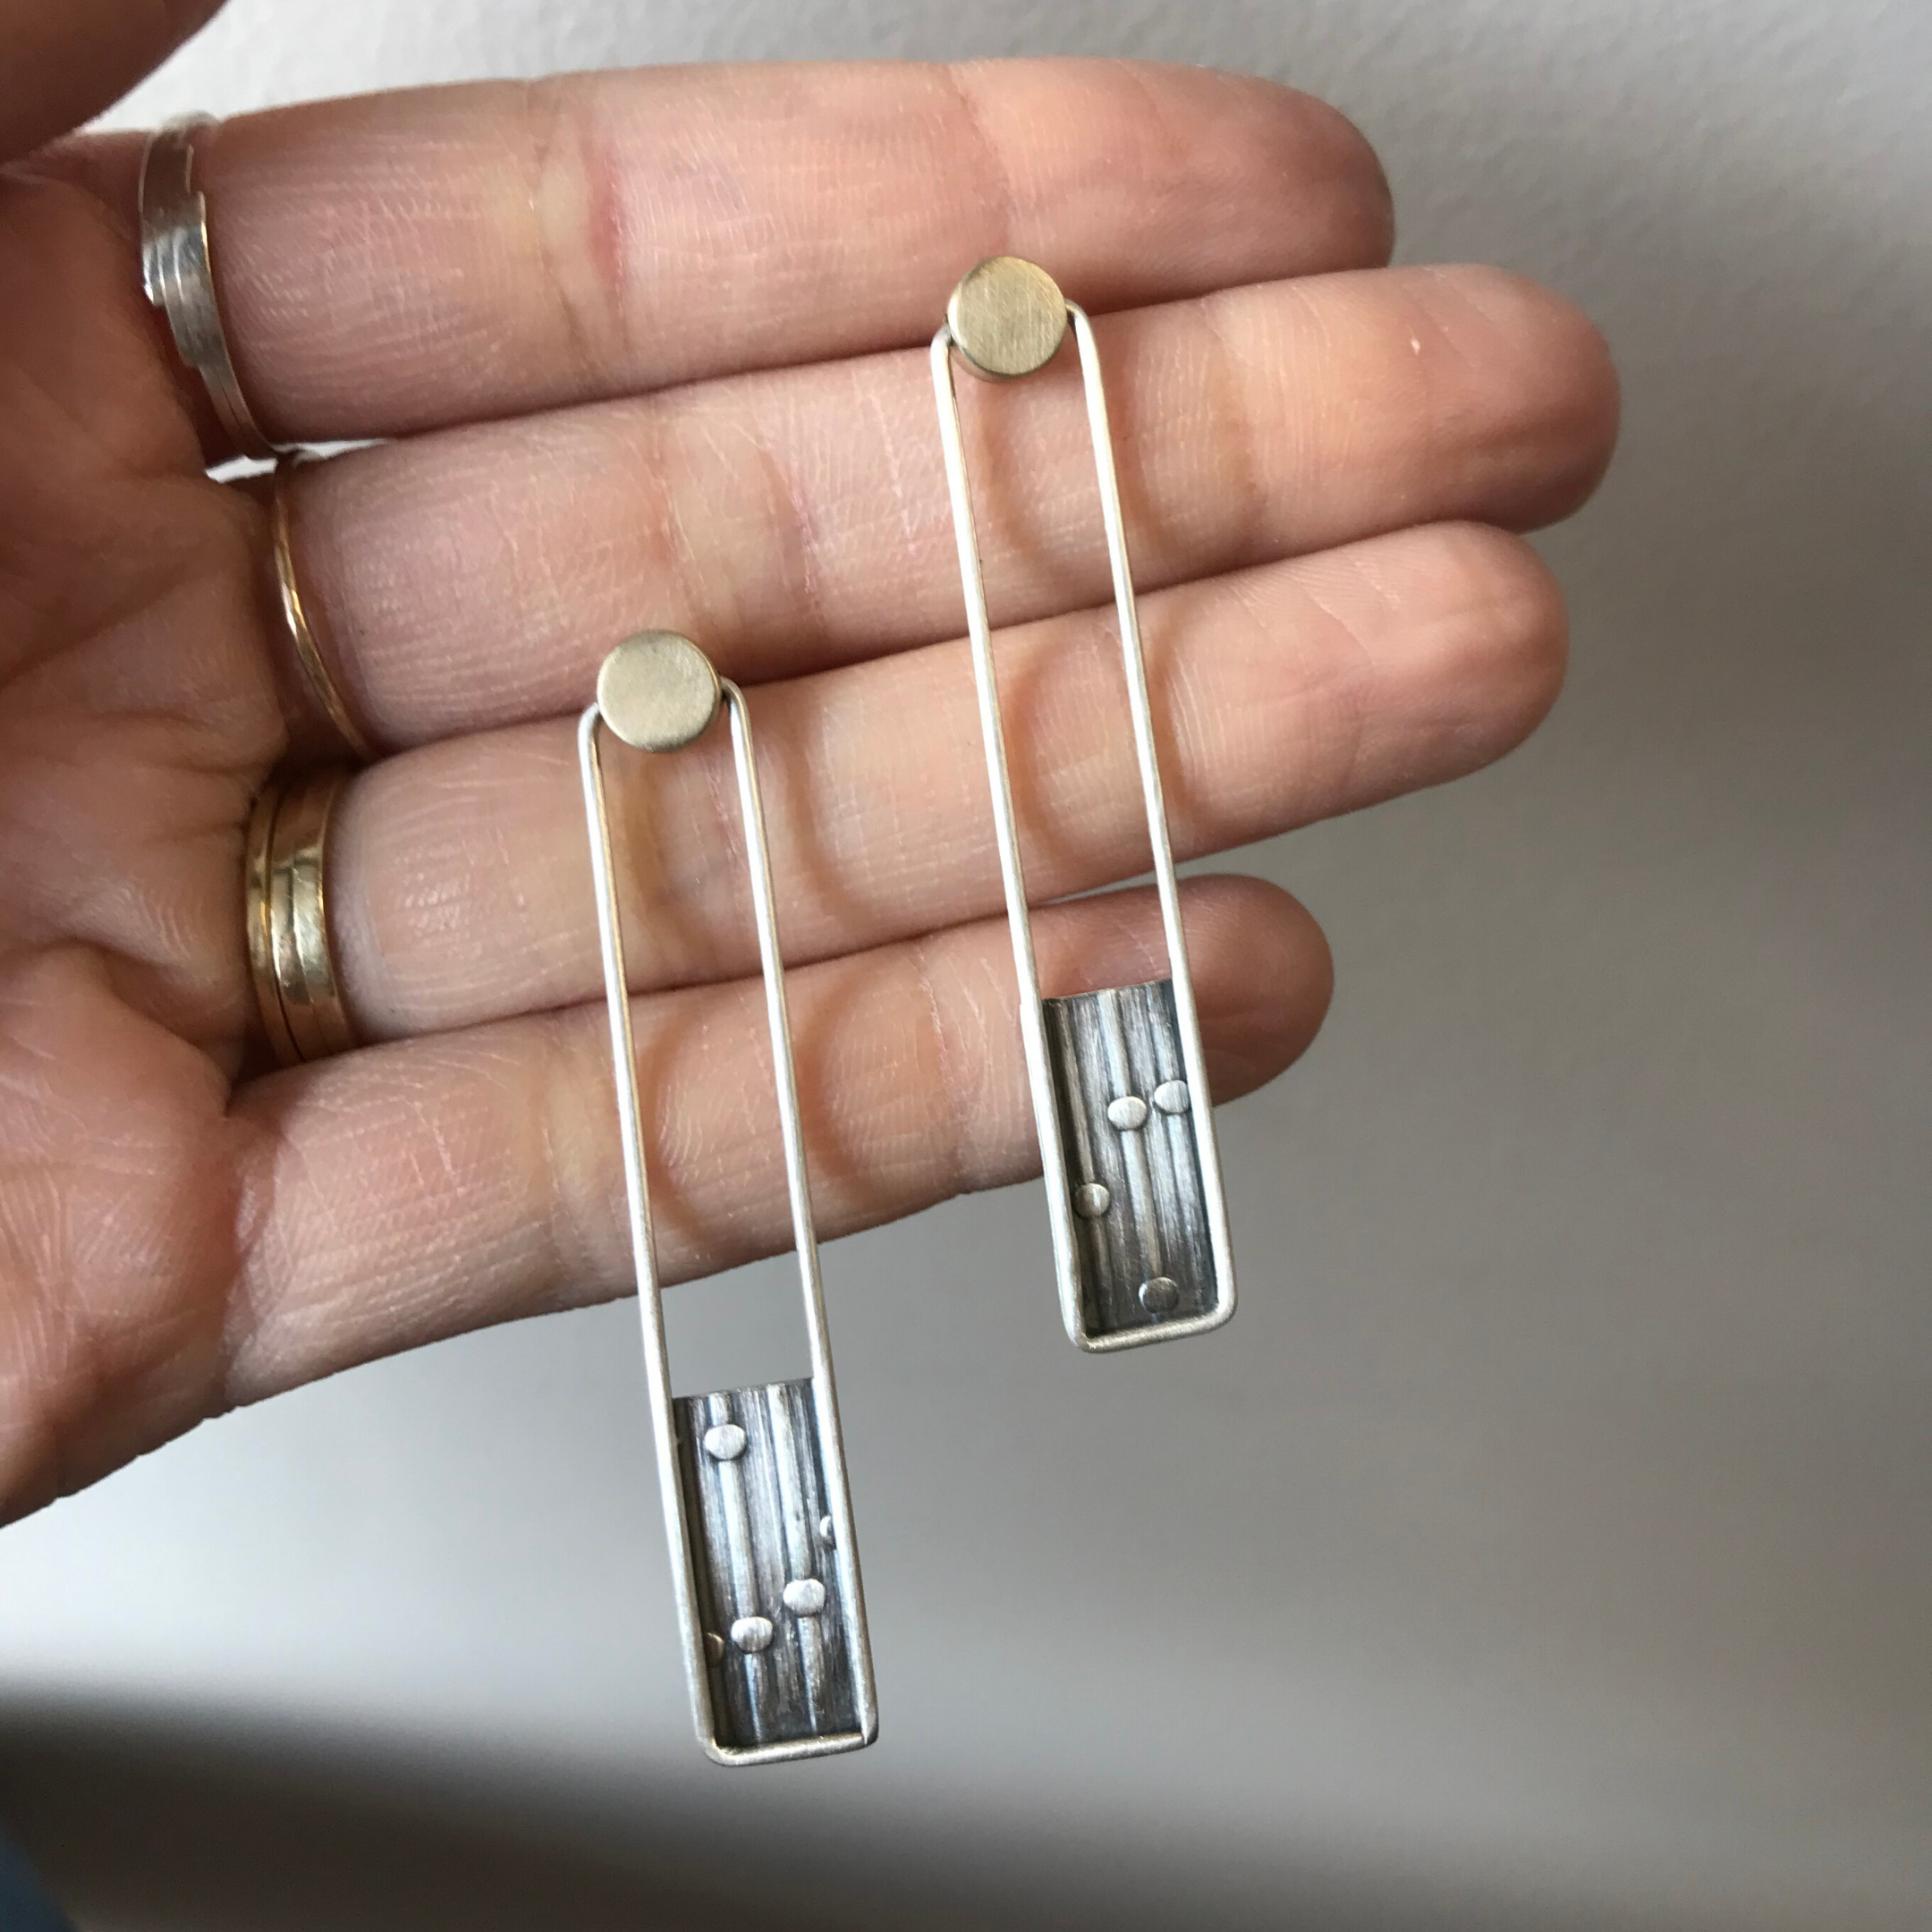
READY FOR HER CLOSE-UP
Tadaaaaaaaa! She's finished! See how the patina adds that depth and contrast to the patterned backing? Otherwise, the pattern would get kind of lost and the piece would be missing a little something, don't ya think? And I just love the different tones that these mixed metal earrings have! It's a delicate yet detailed design and I LOVED bringing this idea to life!
